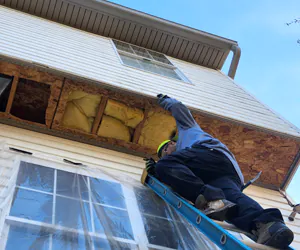
If you’re looking to add more space to your home without expanding the foundation, a cantilever is a good option. It can support a bump-out, bay window, or a room built above a porch or garage.
Since part of the floor hangs over outdoor air, the cantilever needs good insulation and air sealing during construction. Joist bays, which are the open spaces between the boards that hold the floor, can let outside air in and allow heated or cooled air to escape. If insulation is not installed well, it can leave cold spots and drafts.
That’s why cantilever insulation in a home addition should happen while the framing is still open. Once the underside and interior are finished, fixing any issues might require opening a completed floor or ceiling.
When insulating and air sealing cantilevers, crews need to make sure the following four details are handled correctly:
- A rigid air barrier sealed inside each joist bay at the supporting wall
- Sealed seams and openings around wiring and plumbing
- Insulation that fills the cavity without gaps, voids, or compression
- A rigid, weather-resistant covering across the underside
If you’re adding a bump-out, bay window, or room over a garage to your home, bring in an insulation contractor during framing, not after the addition is finished.
Why Cantilevers Are a Weak Point in Home Additions
A cantilever extends past the foundation or supporting wall, leaving part of the floor directly over outdoor air. Its underside becomes part of the home’s thermal boundary and needs to work much like an exterior wall.
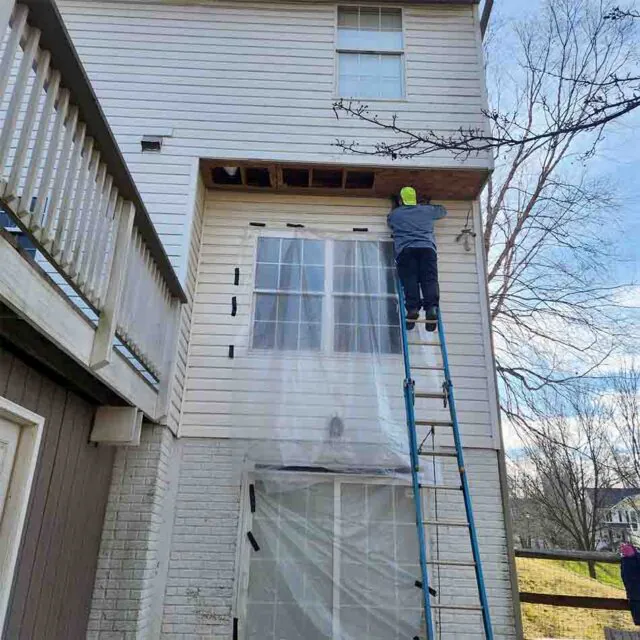 The main issue is what happens inside the joist bays. These spaces can run from inside the house out into the overhang. Without blocking at the exterior wall, they become open channels for air movement.
Proper floor joist bay air sealing closes those pathways. Insulation can slow heat loss, but it can’t stop air from slipping through gaps or moving around fiberglass.
Each bay at the supporting wall should be closed off with a rigid air barrier made from foam, OSB, plywood, or drywall, and sealed around all edges. Even a small opening can let air move through the floor cavity.
The same idea applies to bay window insulation in a home addition and room over garage insulation. Both need a continuous air barrier and insulation between the indoor space and outdoors.
How to Detail a Cantilever During Construction
Begin cantilevered floor insulation before the underside is closed. Following the construction sequence helps the air barrier and insulation work together.
1. Block the Joist Bays
Cut rigid foam to fit each joist bay where the cantilever meets the supporting wall. You can use furring strips behind the foam to keep it in place.
This rigid foam blocking in a cantilever separates the overhang from the rest of the floor system and keeps outside air from moving deeper into the house.
2. Seal Around the Blocking
Secure the blocking and seal all four edges with caulk. The foam will not act as an air barrier if air can get around the edges.
3. Seal the Subfloor and Penetrations
Caulk around the perimeter of the subfloor and any visible seams. Use caulk or foam to seal gaps around wiring, plumbing, and other penetrations.
Try to keep HVAC ducts and plumbing out of cantilevered spaces when possible. If not, seal any openings and insulate the lines.
4. Install Insulation Without Gaps
Make sure the insulation is in contact with all the surrounding surfaces. Gaps, empty spaces, or compressed spots will reduce how well it works.
A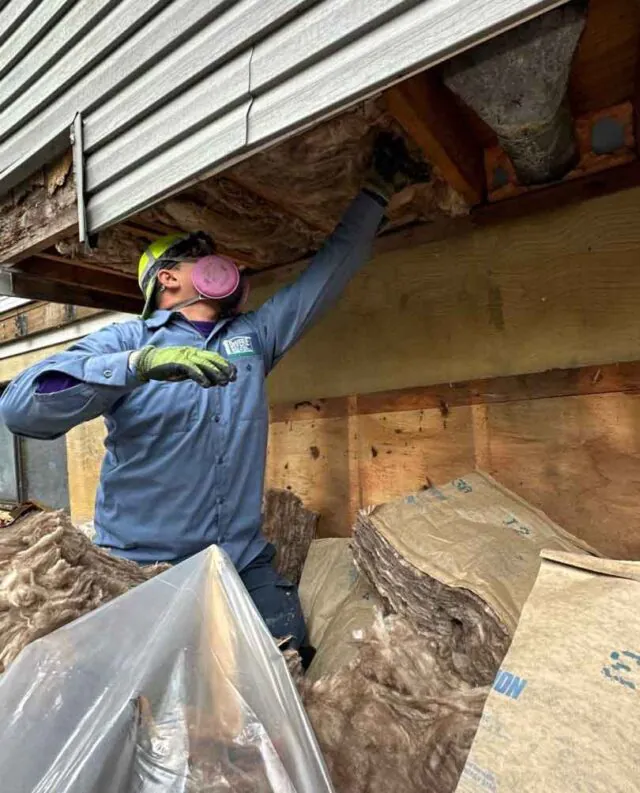 spray foam cantilever can provide insulation and air sealing in one application. Spray foam provides approximately R-6 per inch and fills irregular spaces when applied properly. Learn more about spray foam insulation.
A batt insulation cantilever can also work well, but make sure to complete the air barrier and sealing first. Fiberglass batts provide about R-3.2 per inch and should be cut and fitted carefully around the framing. Learn more about batt insulation.
5. Protect the Underside
Finish the underside with rigid foam that is caulked and taped before adding the siding. You can also use 3/8-inch exterior plywood that has been pressure-treated, painted, or primed for outdoor use.
Maryland Code and Verification for Additions
Maryland moved to the 2021 International Energy Conservation Code on May 29, 2023. Local jurisdictions had until May 29, 2024, to follow suit. Most of the state falls in Climate Zone 4A, with Garrett County in the colder Climate Zone 5.
A cantilevered floor separates conditioned space from outdoor air, so it must meet building-envelope requirements. Recommended insulation levels for Maryland floors range from R-25 to R-30. Contractors should account for that and the applicable Maryland 2021 IECC insulation when planning home addition insulation in Maryland.
The best time to check the work is before everything is closed. The contractor can first look over the blocking, sealed edges, and penetrations, then check the insulation for gaps or compressed areas before the underside is covered.
New homes in Maryland must meet an air-leakage limit of no more than three air changes per hour at 50 pascals. Additions usually aren’t held to a whole-house test, but during a blower door test, an unsealed cantilever still shows up as added leakage. Infrared imaging can show temperature differences and air leaks around the floor.
If you arrange for air sealing services during framing, crews can fix any problems while the cavities are still open. Air sealing and added insulation can lower heating and cooling costs by about 15%, so homeowners start benefiting from home addition air sealing in Maryland as soon as the project is complete.
Frequently Asked Questions
What is a cantilever on a house?
A cantilever is a section of floor that extends beyond the foundation or supporting wall. You’ll often see one under a bump-out, bay window, or room built over a porch or garage.
How should a cantilevered floor be insulated during a home addition?
First, block the joist bays where the cantilever meets the supporting wall. Then seal the blocking and any openings, fit the insulation snugly into the cavity, and protect the underside with a rigid, weather-resistant material.
Why does a cantilever need an air barrier as well as insulation?
Insulation slows heat loss but doesn’t stop moving air. Without a sealed air barrier, outside air can work its way through gaps or around the insulation, leaving the floor feeling cold or drafty.
Can a cantilever be fixed after the addition is finished?
Yes, but contractors usually need to open the enclosed cavity to reach the insulation and air barrier. That makes the repair more disruptive than completing the work during framing. Read more about retrofitting cantilevers in an existing home.
Does Maryland’s building code cover cantilevers?
Yes. Cantilevers form part of the building envelope and must meet Maryland’s insulation requirements, whether they were part of the original house or added later. New homes must also meet the three-ACH50 blower-door standard.
Address Cantilevers Before the Addition Is Closed In
A cantilever does more than extend the floor. Its underside is part of the home’s thermal boundary and needs the same attention as an exterior wall.
When crews block, seal, insulate, and protect the cantilever during construction, they can check the work before it is covered up. A blower-door test can then confirm how the work affects the home’s overall air leakage.
Maryland homeowners planning an addition can call DeVere Insulation Home Performance at (443) 770-1111 to ensure cantilevers are properly blocked, sealed, and insulated during construction.